Table of Contents
ToggleIntroduction
In recent years, the lines between mobile and desktop experiences have become increasingly blurred. With the launch of Windows 11, Microsoft introduced an exciting feature that allows users to run Android apps directly on their PC. If you’ve ever wished you could use your favorite Android apps like WhatsApp, Instagram, or TikTok on a bigger screen, this guide is for you.
What’s New in Windows 11? The Android Apps Feature
Before we dive into the “how-to,” let’s quickly recap what makes Windows 11 unique in terms of Android app support. Windows 11 allows users to download and install Android apps through the Microsoft Store in partnership with the Amazon Appstore. This integration means that you can run Android apps seamlessly, just like any other app installed on your PC. It’s a great solution for people who want to bridge the gap between mobile and desktop experiences.
However, the feature isn’t available on all devices right out of the box. There are some requirements to keep in mind before you can start using Android apps on your PC. Don’t worry – we’ll cover these in detail later on!
Prerequisites for Running Android Apps on Windows 11
To use Android apps on Windows 11, there are a few things you’ll need to check and set up. Here’s a checklist of the essential requirements:
1. Ensure You Have Windows 11
This feature is exclusive to Windows 11. If you’re still using Windows 10, you’ll need to upgrade to Windows 11 first. Keep in mind that your PC must meet the minimum system requirements to run Windows 11.
2. Enable Virtualization in BIOS
Running Android apps requires hardware virtualization, which may not be enabled by default on your PC. Virtualization allows your PC to run Android apps as if they were running on an Android phone or tablet. To enable this, you’ll need to access your computer’s BIOS/UEFI settings and enable virtualization.
3. Have an Intel or AMD Processor
Android apps on Windows 11 work with both Intel and AMD processors, but you must have at least an 8th Gen Intel Core processor or a modern AMD Ryzen processor.
4. Download the Amazon Appstore
To install Android apps, you’ll need the Amazon Appstore. This is where you’ll find Android apps that can be downloaded and installed on Windows 11. It’s worth noting that the app catalog here is not as large as Google’s Play Store, but it includes a decent selection of popular apps.
5. Sign in with a Microsoft Account
You’ll need to be signed into your PC with a Microsoft account in order to access the Microsoft Store and the Amazon Appstore. This is a simple step and should be familiar if you’ve used Windows before.
Now that we’ve gone over the prerequisites, let’s take a look at how to install and use Android apps on Windows 11.
How to Install Android Apps on Windows 11
Once you’ve confirmed that your system meets the necessary requirements, the process of installing Android apps is straightforward. Follow these simple steps:
Step 1: Install the Windows Subsystem for Android
The first thing you’ll need to do is install the Windows Subsystem for Android (WSA). WSA is a tool that enables Android apps to run on your Windows PC. Here’s how you can get it:
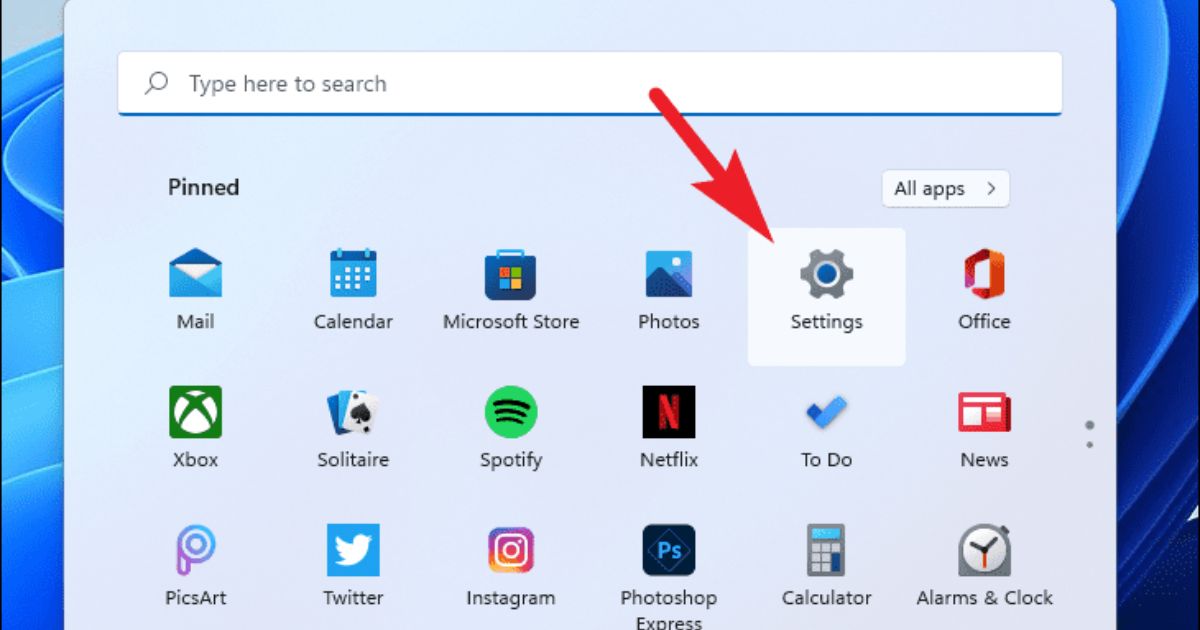
- Open the Microsoft Store on your Windows 11 PC.
- Search for “Windows Subsystem for Android” in the search bar.
- Click on Get to install the WSA.
- Once installed, the system will prompt you to restart your PC. Do so to complete the installation process.
Step 2: Install the Amazon Appstore
With WSA installed, you now need the Amazon Appstore to download Android apps:
- Open the Microsoft Store again.
- Search for the Amazon Appstore.
- Click on Install to get the appstore.
- Once installed, you’ll be prompted to sign in with your Amazon account (create one if you don’t have one already).
Step 3: Browse and Install Android Apps
Now that everything is set up, you can browse the Amazon Appstore for Android apps. Here’s how to install an app:
- Open the Amazon Appstore from the Start menu or search bar.
- Browse or use the search bar to find the Android app you want.
- Click on the app, then click Install.
- The app will download and install just like any other Windows app.
- After installation, you can find the app in the Start Menu and launch it like any other app on your computer.
Step 4: Launch and Use Android Apps
After installation, you can open Android apps directly from the Start Menu. You can even pin them to your taskbar or create shortcuts for quick access.
Tips for Better Performance
- Make sure your PC is up to date with the latest drivers and system updates for better compatibility.
- Some apps may not work as well on Windows 11 as they do on an actual Android device, so you may need to adjust settings or switch to a different app if you experience issues.
Limitations of Running Android Apps on Windows 11
While the integration of Android apps on Windows 11 is impressive, there are a few limitations that you should keep in mind:
1. Limited App Selection
Although the Amazon Appstore provides access to many popular apps, it’s not as extensive as Google’s Play Store. You may not find every app you’re looking for. That being said, some apps may be available through third-party APK installers, but this requires a bit more technical know-how.
2. App Performance and Compatibility
Some Android apps may not work as seamlessly on Windows 11 as they would on a native Android device. Apps that rely heavily on touchscreen inputs or GPS functionality may not perform well on your PC. If you encounter performance issues, it might be due to these compatibility challenges.
3. Lack of Google Services
Android apps on Windows 11 do not have access to Google’s services, such as Google Play Games, Google Maps, or Google Assistant. This means that some apps might not offer the same experience you would get on an Android phone.
4. No Android Phone Integration
Unlike some other systems (e.g., Samsung DeX or Chrome OS), Windows 11 doesn’t fully integrate with Android phones. You can’t use your phone’s apps directly on your PC via Bluetooth or Wi-Fi, for example.
Alternatives for Running Android Apps on Windows 11
If the Amazon Appstore isn’t offering what you need, or if you want a more customized experience, you can try third-party solutions to run Android apps on your PC. Two of the most popular methods are:
1. BlueStacks
BlueStacks is an Android emulator that allows you to run Android apps and games on your PC. Unlike the Amazon Appstore method, BlueStacks gives you access to the Google Play Store and a larger selection of apps.
2. NoxPlayer
NoxPlayer is another popular Android emulator that provides similar functionality to BlueStacks. It’s easy to use and lets you download apps from the Google Play Store directly onto your PC.
Both of these options have some performance trade-offs compared to the native Android app support built into Windows 11, but they provide more flexibility in terms of app selection and functionality.
Conclusion
Running Android apps on Windows 11 is a fantastic feature for anyone who wants to blend the best of both worlds mobile and desktop experiences. Whether you’re using Android apps for work, entertainment, or social media, having access to them on a larger screen can significantly enhance your productivity and user experience.
By following the steps outlined in this guide, you’ll be able to set up and enjoy Android apps on your Windows 11 PC in no time. Although there are a few limitations, Windows 11’s Android app integration is still an exciting feature that shows the potential for future advancements in cross-platform functionality.
FAQs
Q1. Can I run all Android apps on Windows 11?
Not all Android apps are available on Windows 11. The Amazon Appstore offers a selection of Android apps, but it’s not as extensive as the Google Play Store. Some apps might not work correctly on Windows, especially those requiring touch input or specific hardware features like GPS. However, third-party Android emulators, like BlueStacks, provide access to a broader range of apps, including those from the Google Play Store.
Q2. Do I need a specific type of PC to run Android apps?
Yes, your PC must meet the minimum system requirements for Windows 11, including having an 8th Gen Intel processor or a modern AMD Ryzen processor. Additionally, hardware virtualization must be enabled in the BIOS. This feature is often disabled by default, but it can be turned on in the system’s BIOS/UEFI settings.
Q3. How do I enable Virtualization on my PC?
To enable virtualization in your PC’s BIOS settings:
- Reboot your computer.
- During the boot process, press the designated key (usually F2, F12, Esc, or Del) to enter the BIOS setup.
- Look for an option called Intel VT-x or AMD-V (for Intel and AMD processors, respectively).
- Enable the option, save the changes, and restart your computer.
Q4. Can I install Google Play Store on Windows 11 to get more Android apps?
Currently, you can only access the Amazon Appstore for Android apps directly on Windows 11. The Google Play Store is not natively supported. If you want access to a wider range of apps, you could use third-party Android emulators like BlueStacks or NoxPlayer, which allow you to install and run apps from the Google Play Store.
Q5. Do Android apps on Windows 11 work the same as on an Android device?
While Android apps will run on Windows 11, the experience may differ slightly from using them on a mobile device. Some apps that require specific hardware features, like a camera, GPS, or sensors, may not work well on your PC. Additionally, apps that are designed for touchscreen devices may not have an optimized interface for desktop or mouse/keyboard input.